Portal
Projects
This screen is where Projects can be updated and new Projects added.
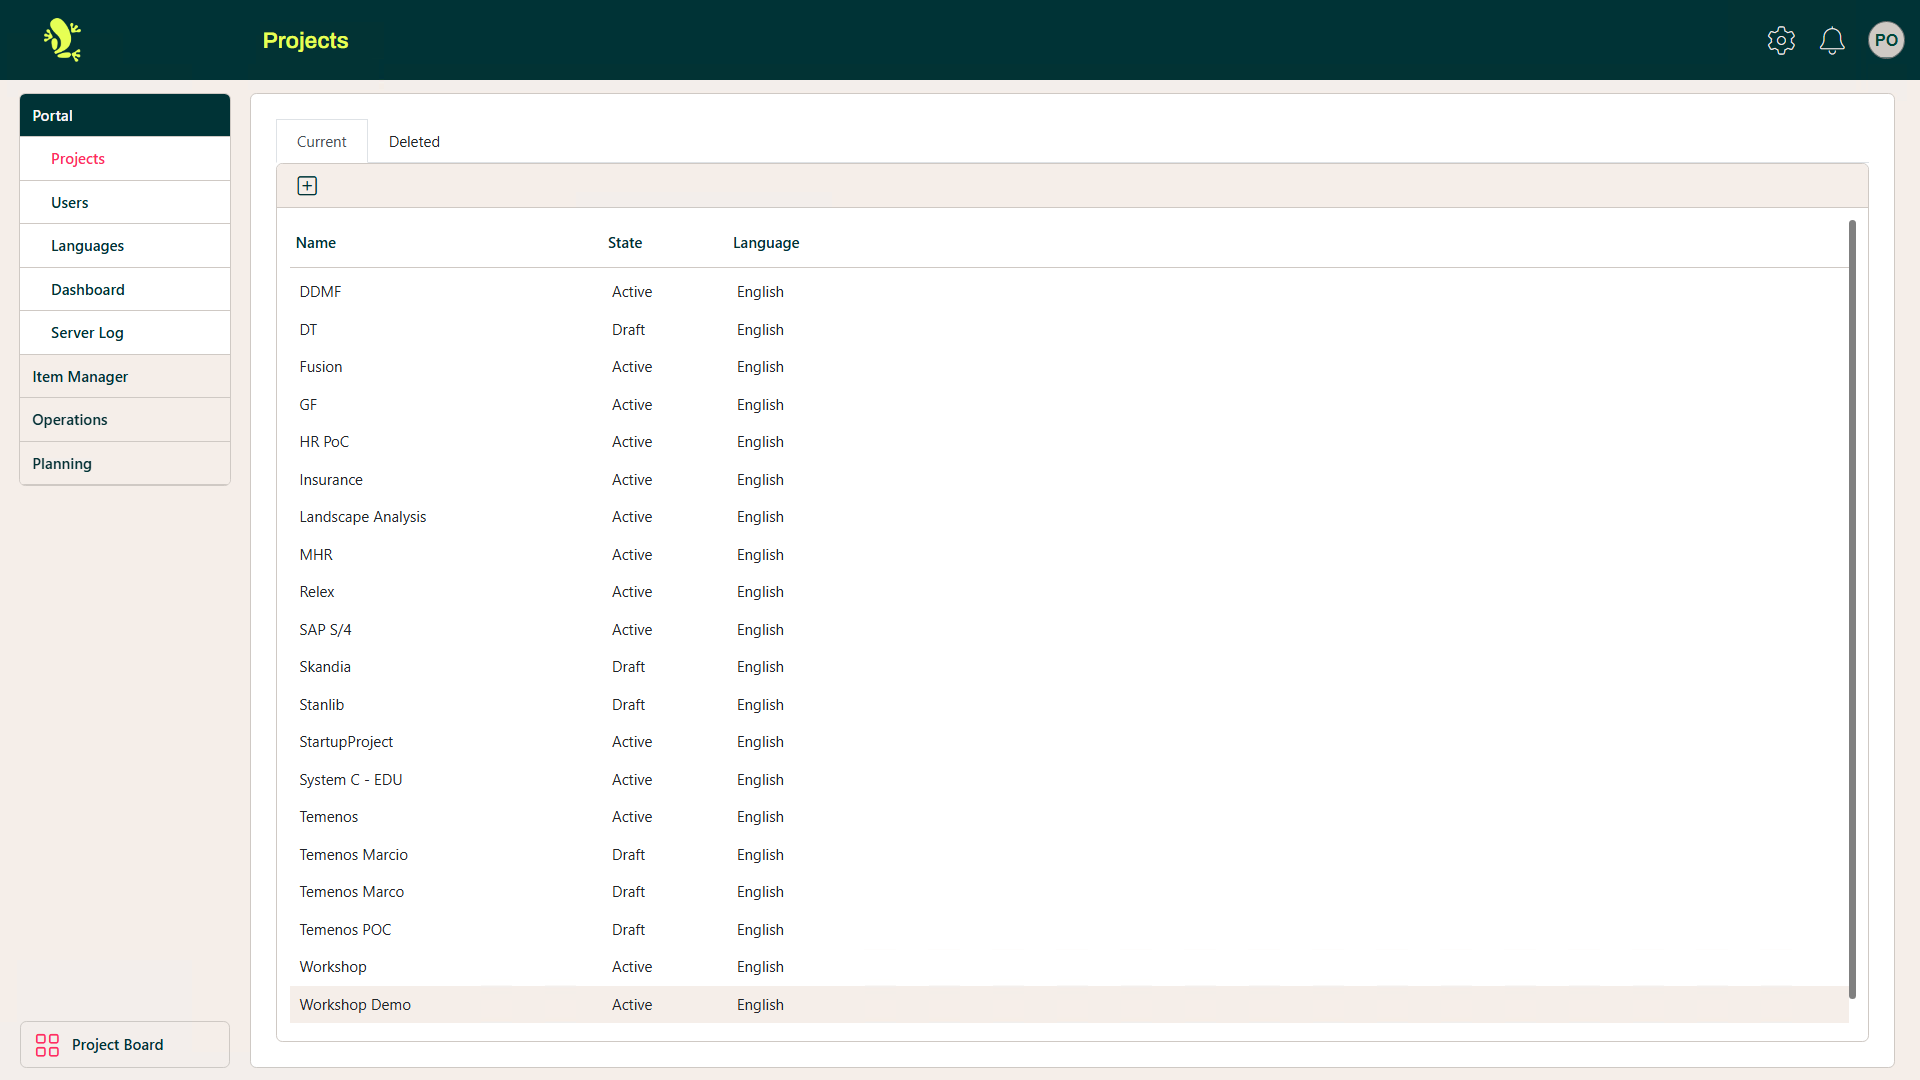
Selecting a Project from the list opens a new screen that allows you to update details.
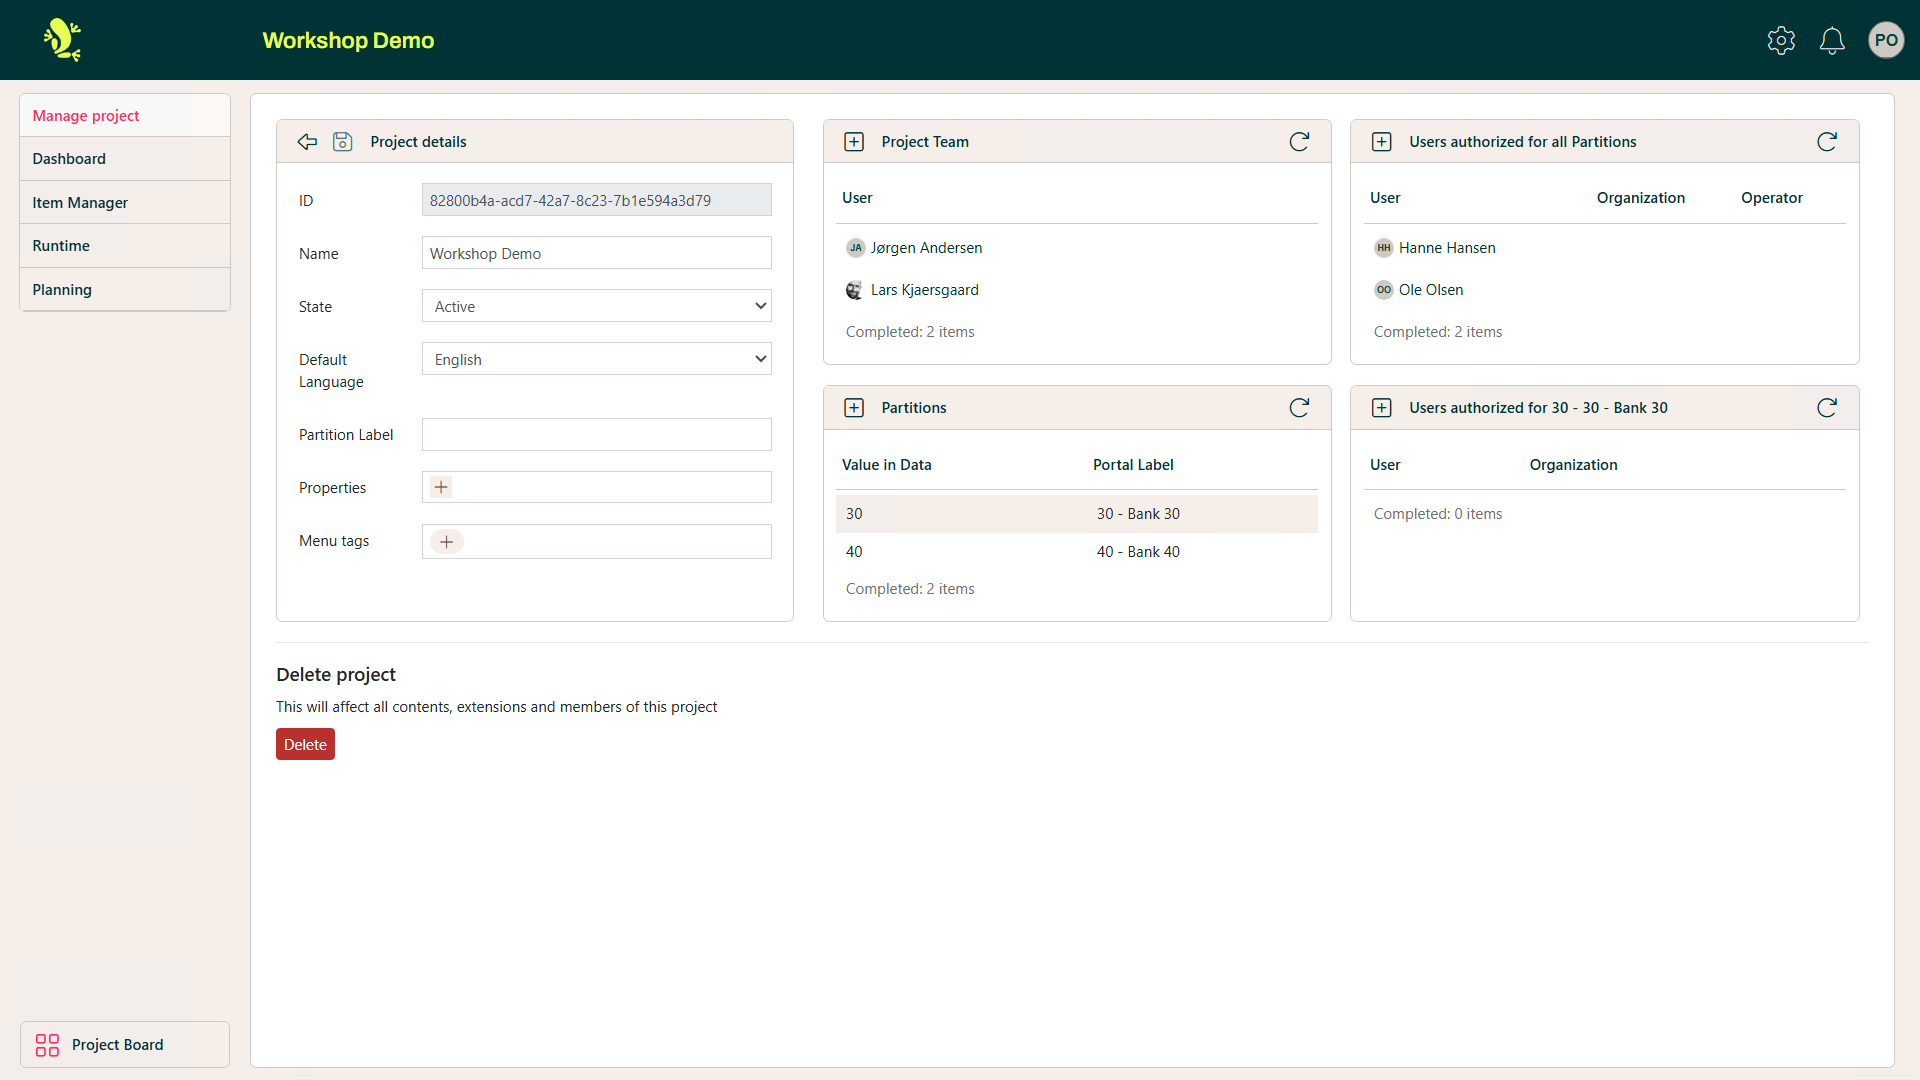
Manage project
This screen allows the State of the Project to be updated and user access to the Project to be maintained.
Dashboard
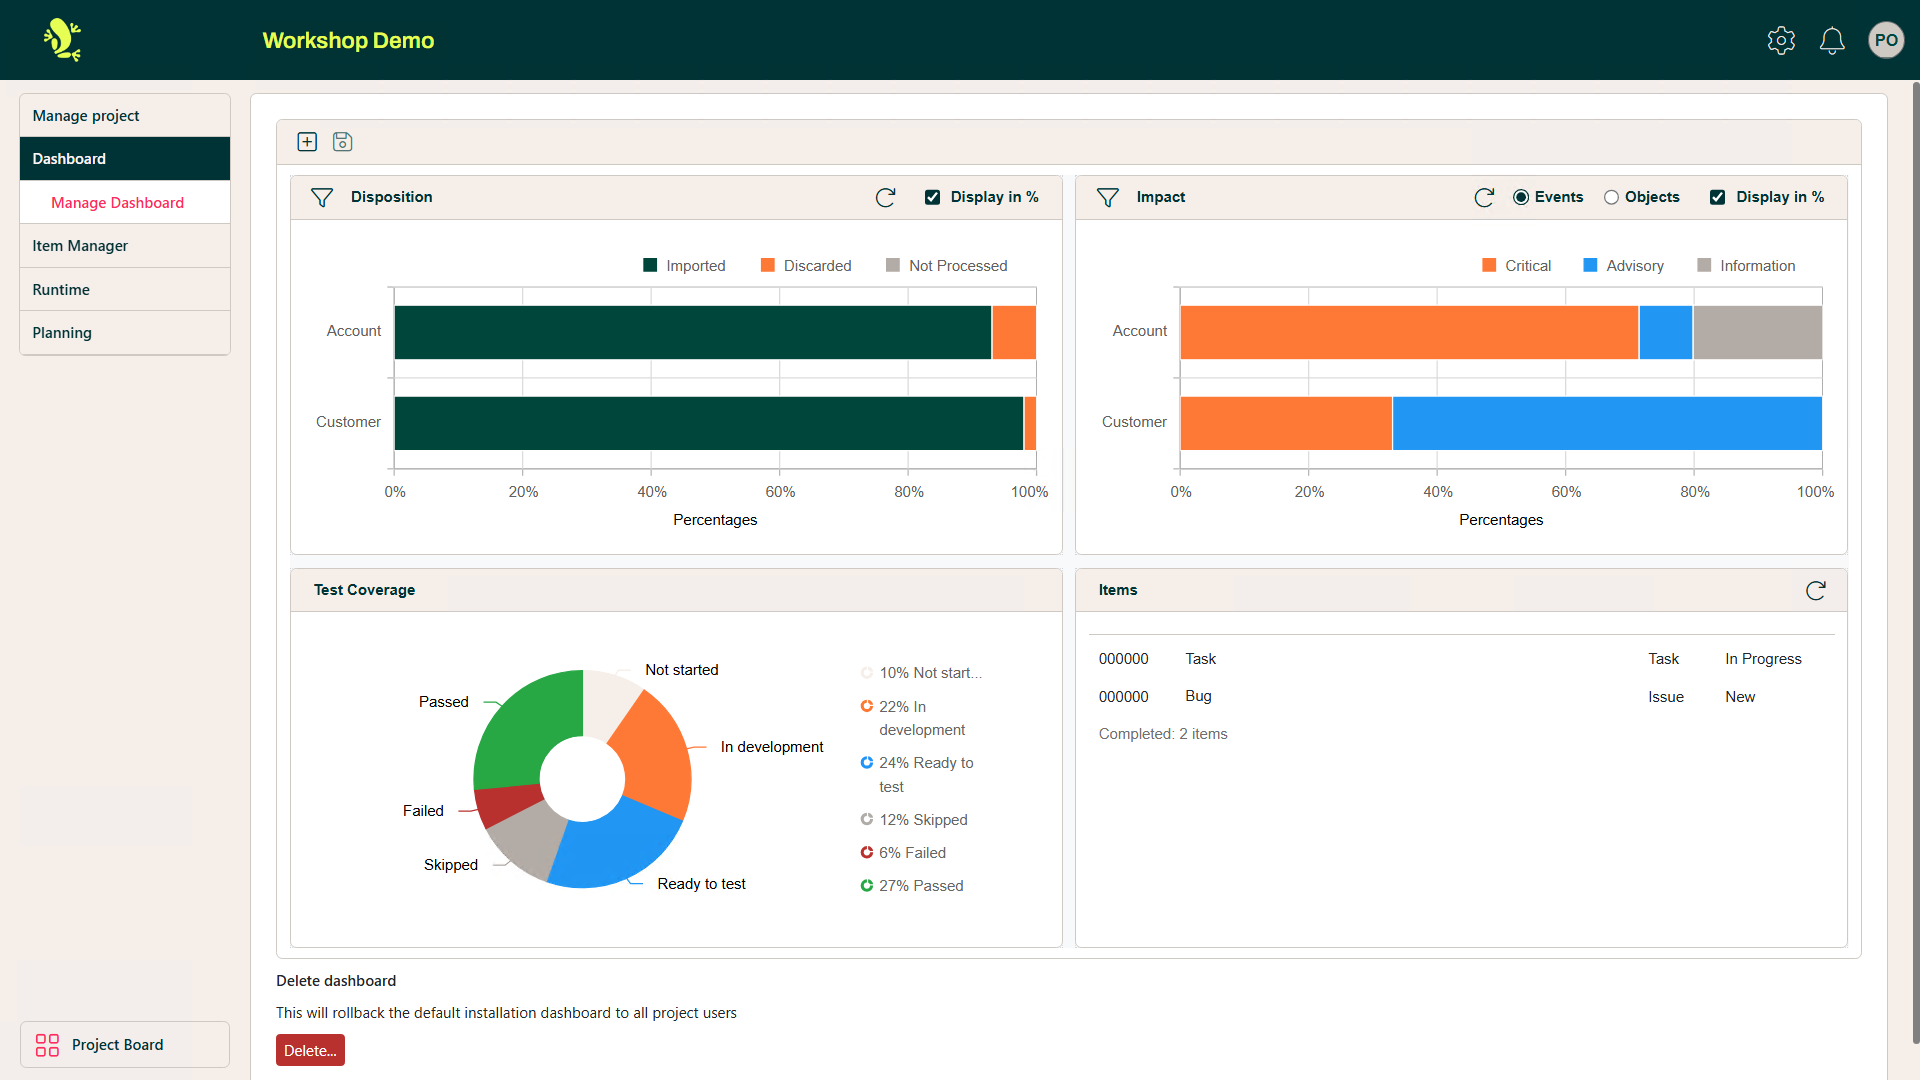
This is where the Dashboard display for the Project is updated from the default Dashboard settings. Widgets can be added, removed, moved, and resized.
Item Manager
The Item Manager module is an optional module in the Portal.
When you create a project you have the option to copy Item Manager configuration from another project. It is done here:
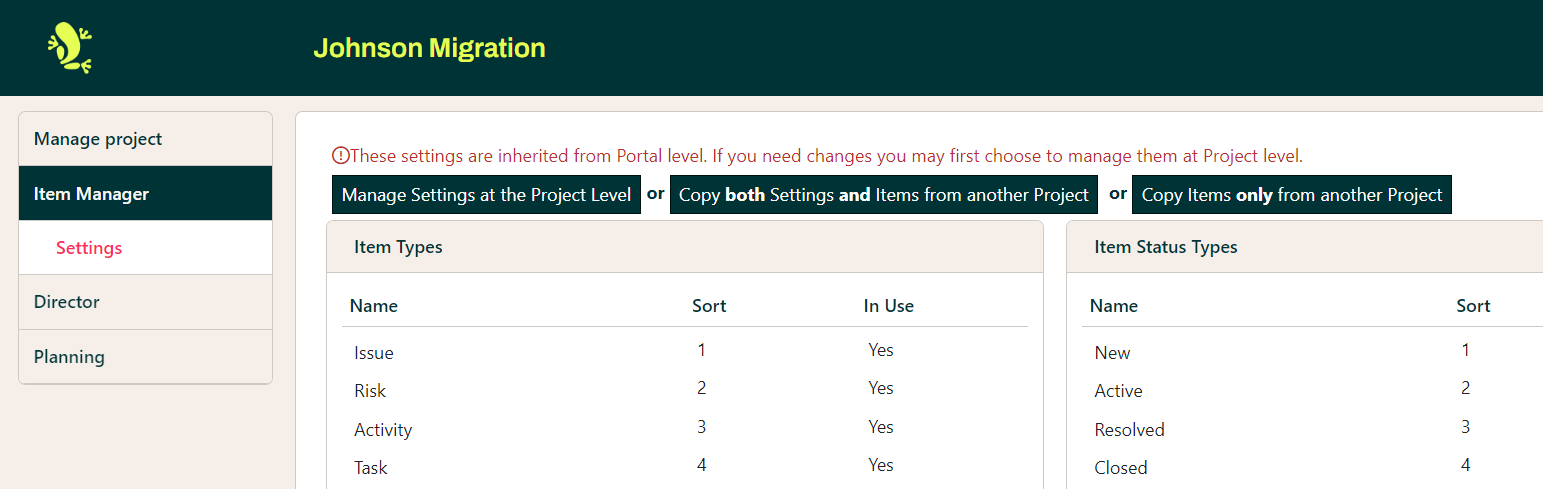
The alternatives are to adjust the global setting and or create new.
New types can be created and existing ones changed, using the Item Types dialogue screen:
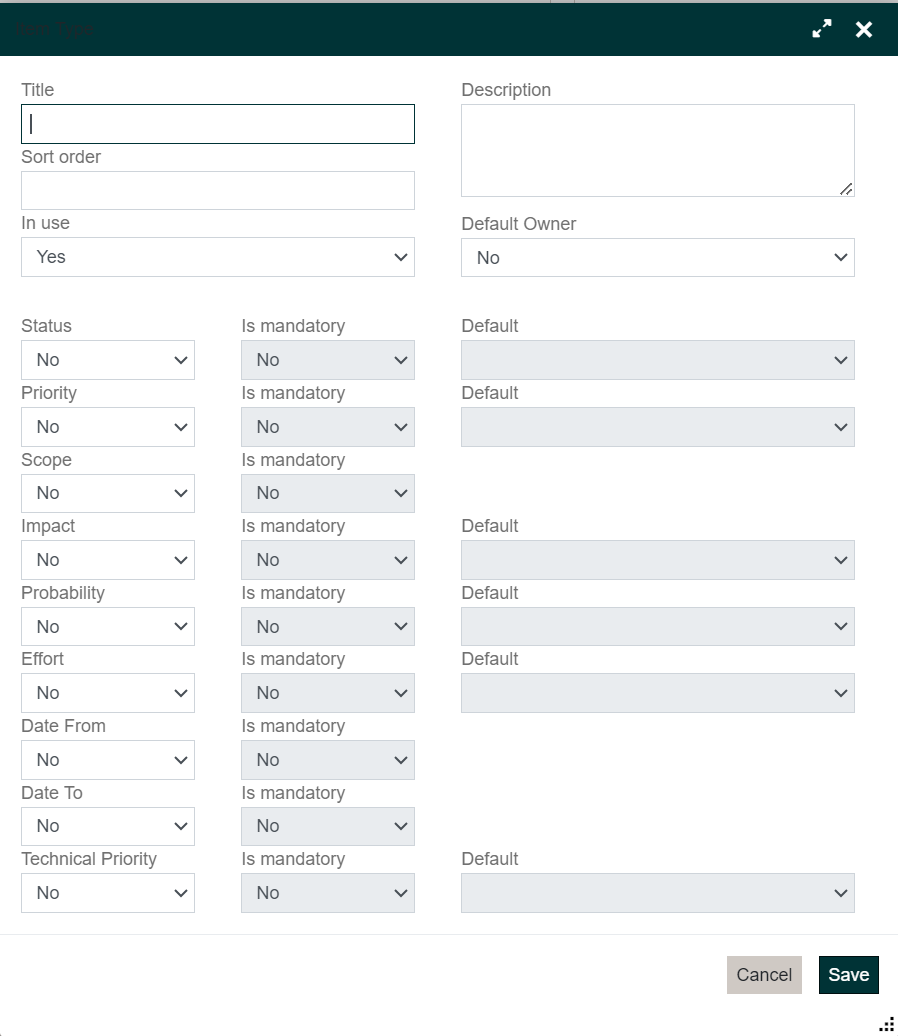
All the mentioned fields on this screen can all have values changed, added, and removed.
Similarly, other properties like Priority, Status, Time Units, Impact, etc can all be configures to suit the project.
Runtime
In the Runtime section you can update information on how and where to run the Project.
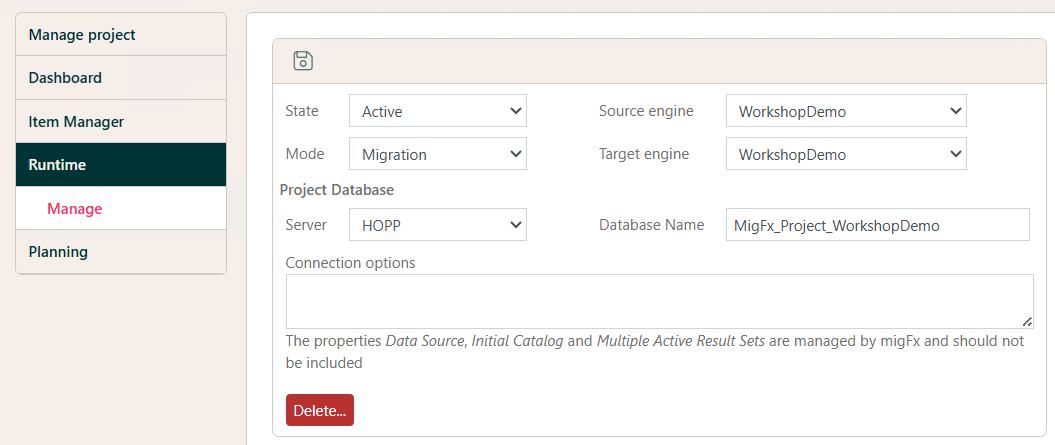
- State: Is the Project Runtime Active or Inactive
- Mode: Runtime Mode can be either Migration or Export. When Migration both Export and Import are run, while Export only runs the Export part.
- Source Engine: In both modes, a Source engine must be specified. Select one from the Dropdown with a list of available Source engines.
- Target Engine: If the mode is Migration, a target engine must be specified. Select one from the Dropdown with a list of available Target engines.
- Server: Select the server where the Project Database is created from the Dropdown with a list of available Servers.
- Database: Specify the Name of the Project Database you created in the Preparation step.
Engines and servers are maintained elsewhere in Configuration.
Before creating the Runtime for a project, please ensure that these elements are created first
- The
Project Database - The
Serveridentifying the machine hosting the Project Database - The
Source Engineused by the project - The
Target Engineused by the project
Read more here about how to set up the Runtime for a new project: Adding a new Project.
Planning
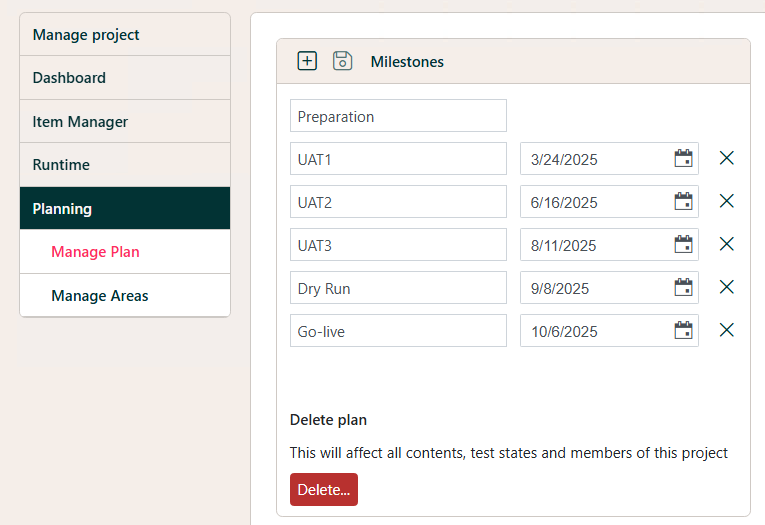
Manage Plan
This screen allows Plan Milestones to be set.
Manage Areas
This screen allows Testing Area details to be maintained.
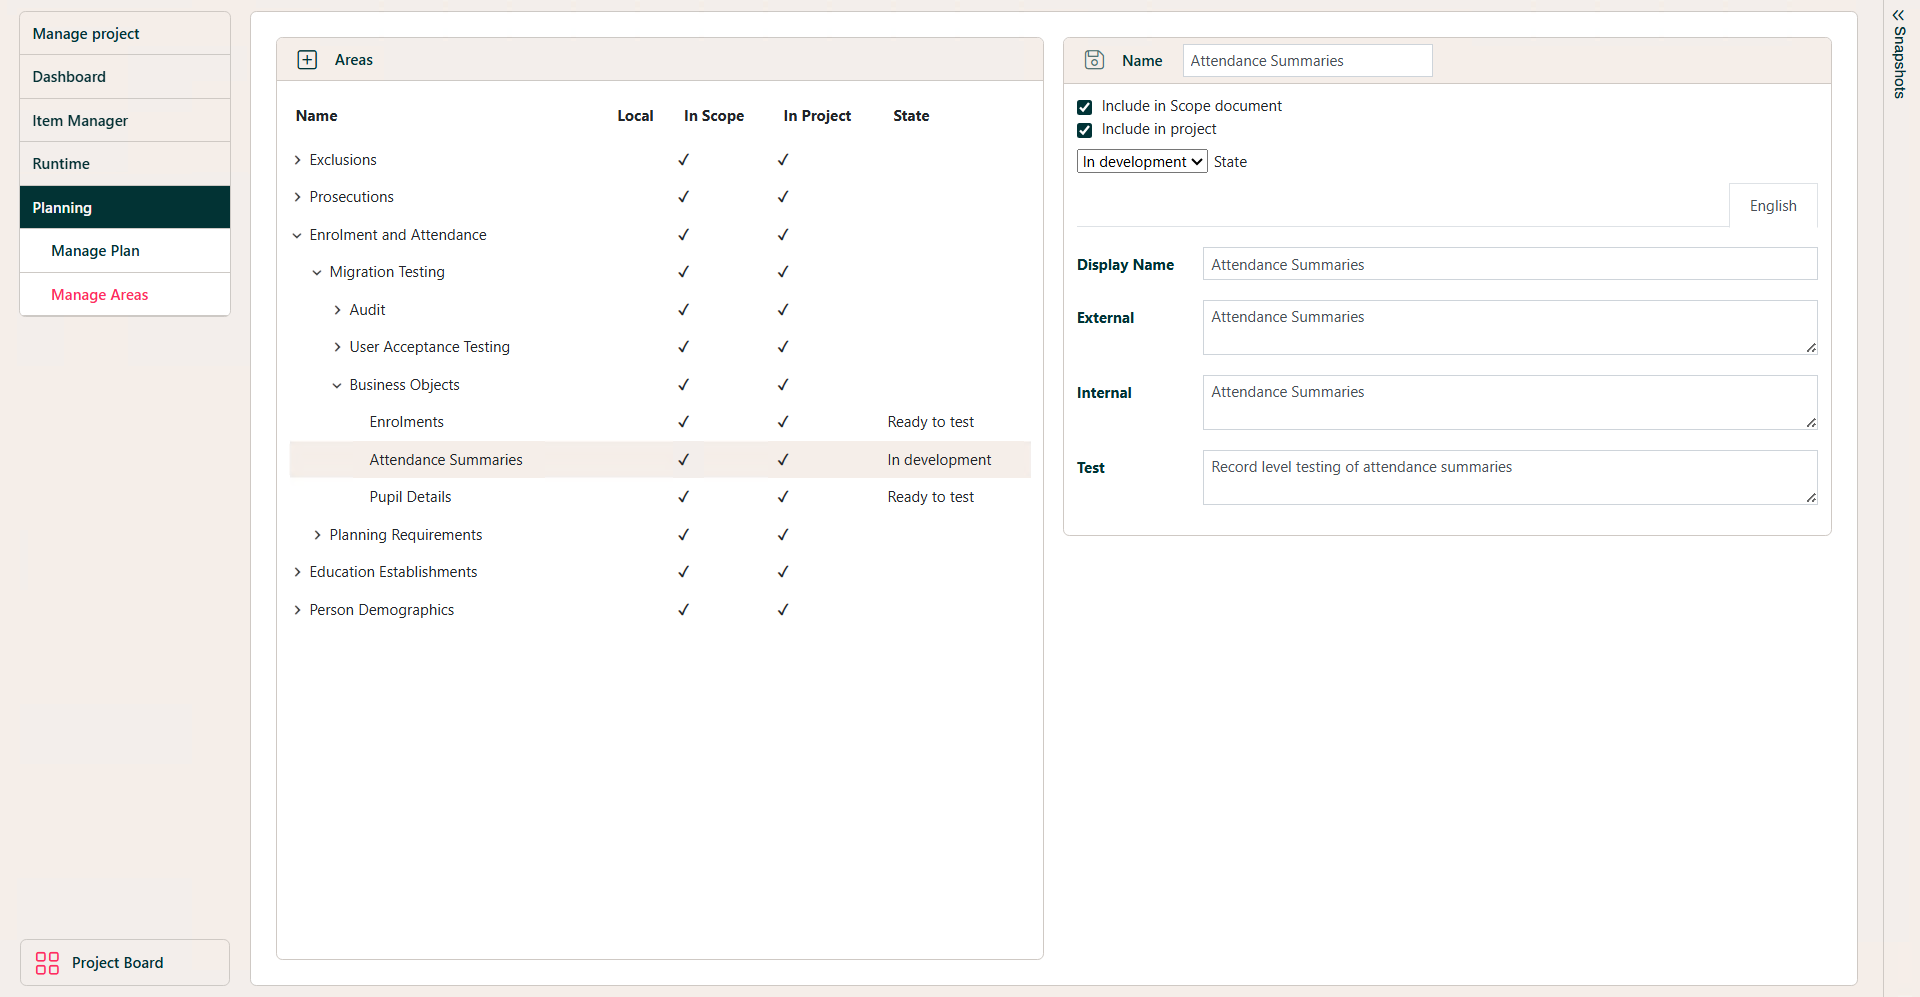
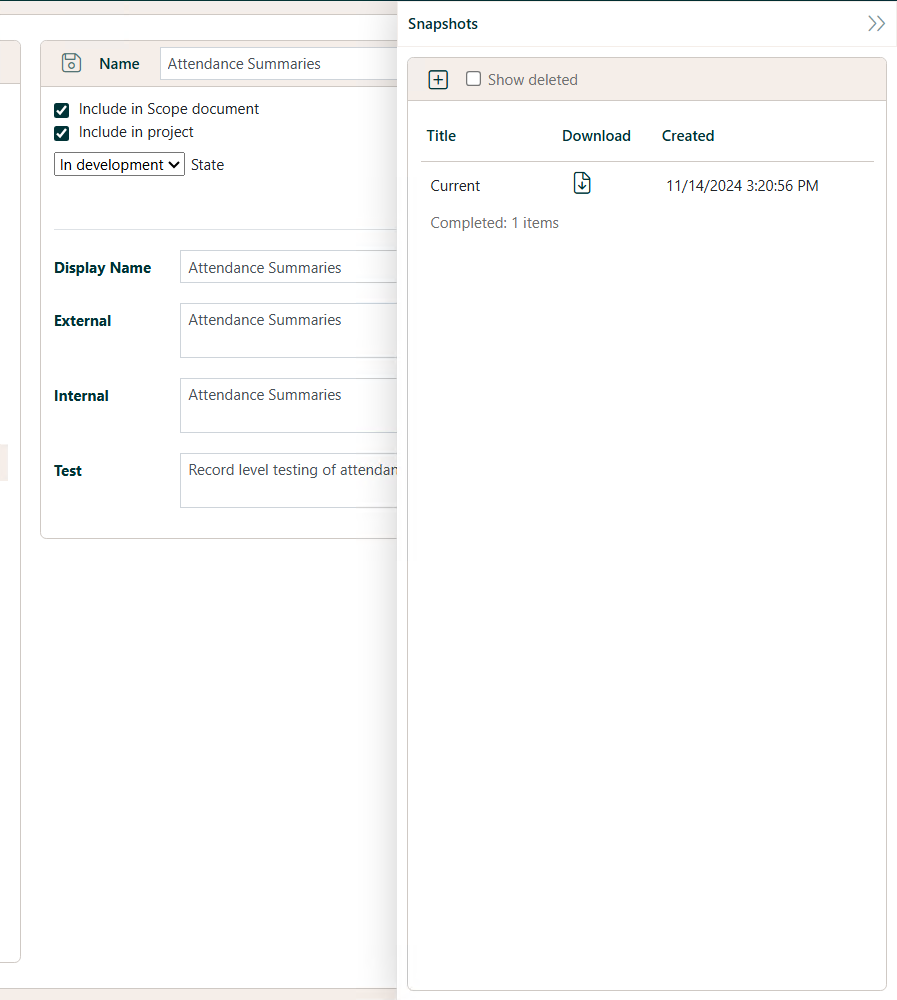
Snapshots of the current state of the Plan can be recorded by accessing the 'Snapshots' area on the right-hand side of the screen.
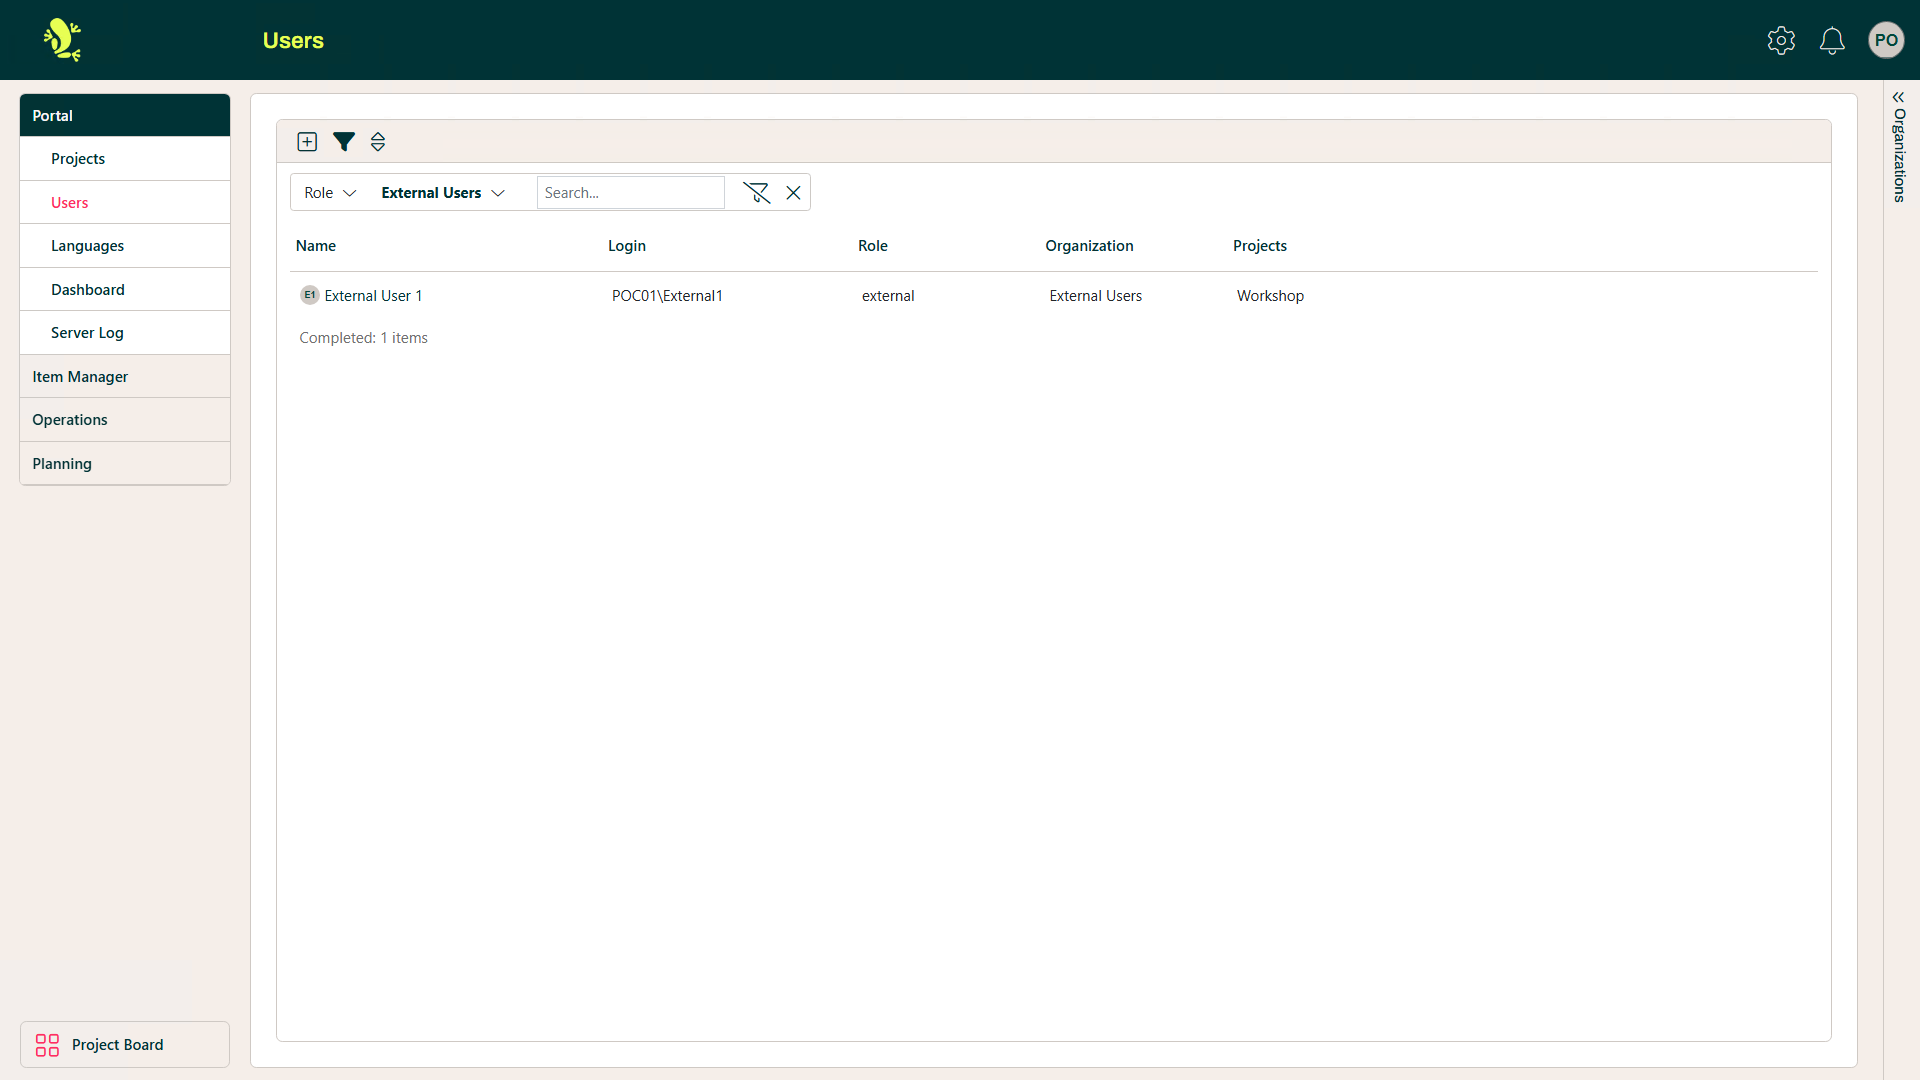
Users
This screen allows users to be added and maintained.
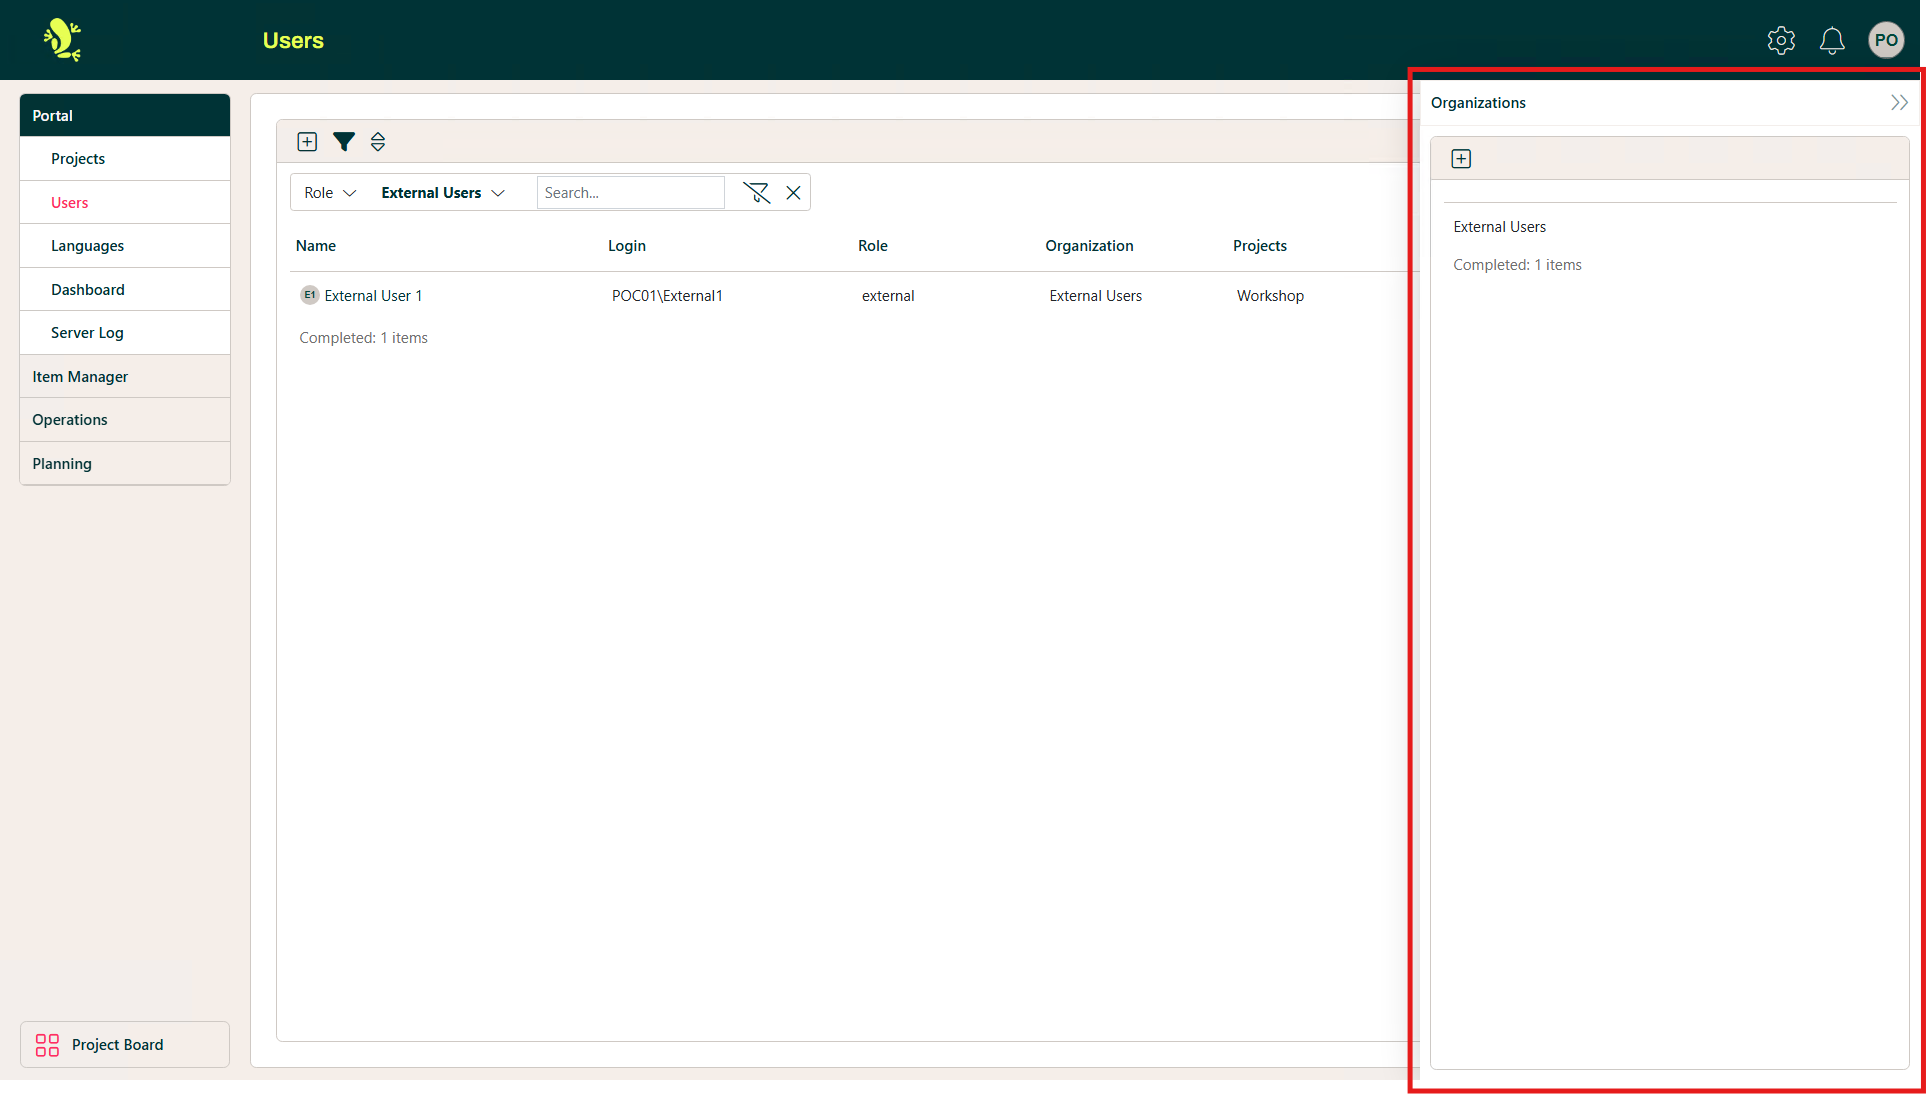
Organizations
User Organization details can be maintained by expanding the section on the right-hand side of the screen.
Languages
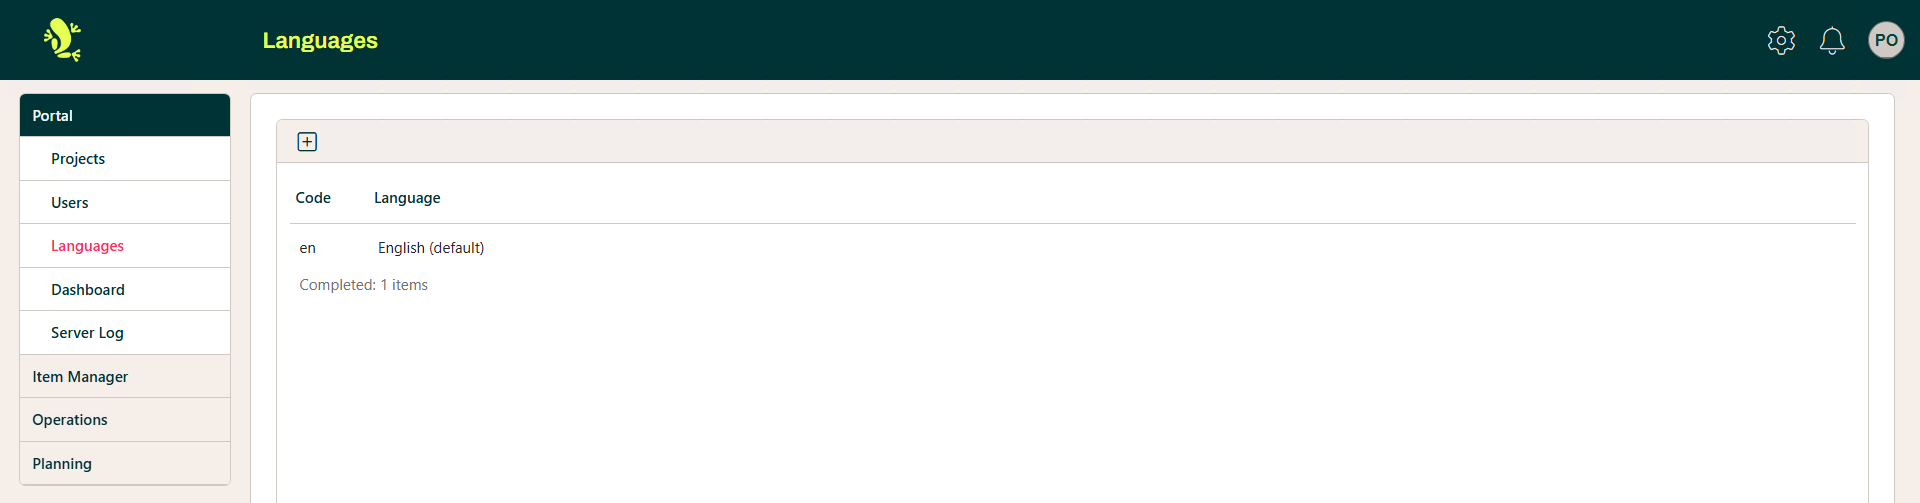
This screen allows additional languages to be added. The default language of Hopp is English.
Dashboard
This is where the default Dashboard display for all Projects in Hopp is maintained. Widgets can be added, removed, moved, and resized.
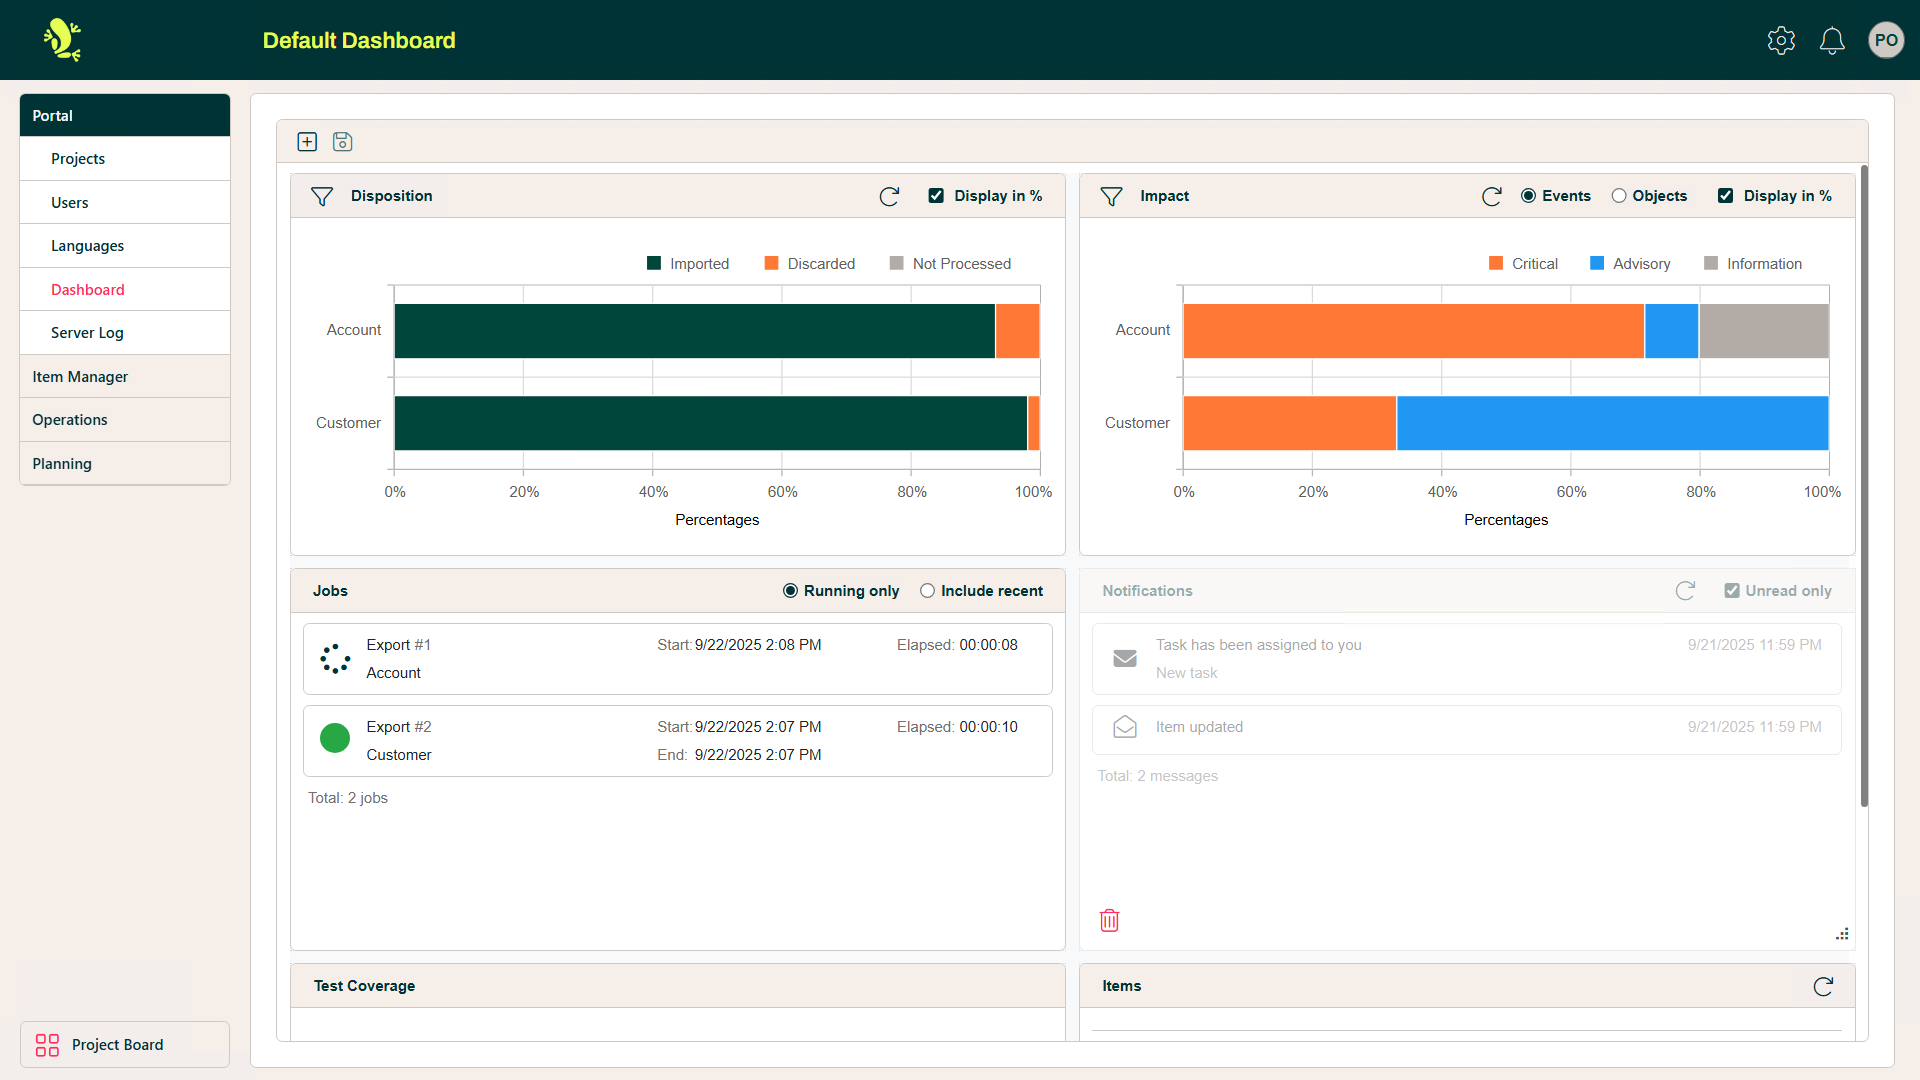
The Dashboard which is displayed when any Project is opened is configurable so that it can be tailored to include the Widgets that are most relevant for your Users. There are seven Widgets that can be included on a Dashboard and their position and size can be altered using drag and drop functionality. Each has a minimum size so that it is not sized so small that it cannot display the content sensibly.
A default configuration is delivered with the Portal and this will be displayed unless it is amended in the Configuration section. It includes the following Widgets:
- Disposition
- Impact
- Notifications
- Jobs
Server Log
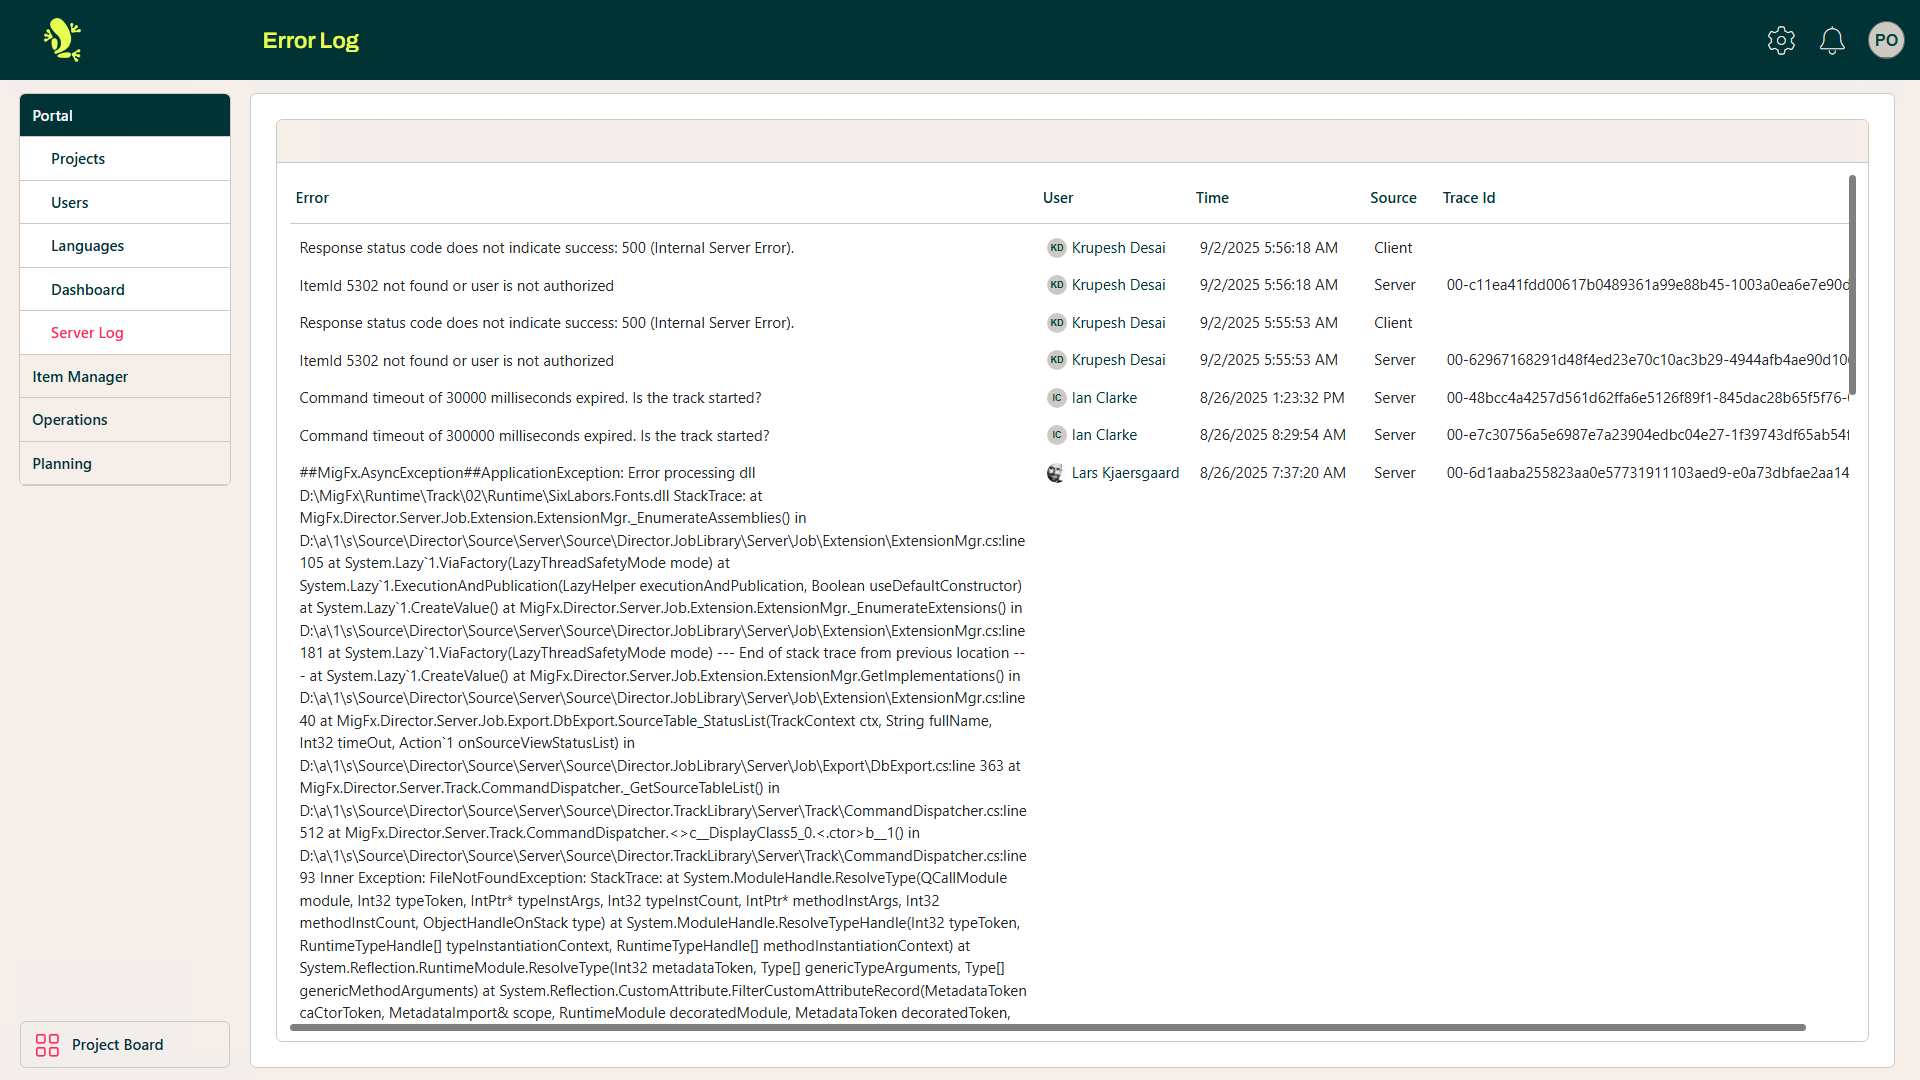
This screen displays the Error Log for the server.